

Etsy Printing Instructions
Invitation Printing Instructions
IF YOU ARE PRINTING THE INVITATIONS YOURSELF
a. For paper, a simple bright white 8.5″ x 11″ card stock (80 lbs.) works best. You can purchase this at an office supply store or Paper Source.
Open the PDF file labelled “FRONT” in Adobe Reader or Acrobat and go to File/Print in the navigation bar.
b. Make sure the option to Scale or Resize the page is unchecked, or that the option for Page Scaling is set at “None”.
c. Make sure your printer is set to its best print setting if possible, and that the size of the paper selected is US letter-sized or 8.5″ x 11″.
d. Load your card stock and click “Print” and print the front of the invitation onto 8.5″ x 11″ (letter-sized) white card stock. Note there are 2 invitations on the PDF, and crop marks to show where to cut them.
e. Check to make sure the first sheet printed ok, and then go ahead and print the number of pages you require.
f. Once finished printing all of the front sides, flip the pile over onto its opposite side and insert into your printer’s feeder.
g. Open the PDF labelled “BACK” in Adobe Reader and print as per the above instructions. The pattern on the back side of the invitation will automatically be lined up with the front side of the invitations. Note it is best to just print one copy at first to check to make sure it’s printing ok. Once it looks like it’s printing ok, go ahead and print the rest of the pile!
h. Once everything is printed, use the crop marks on the front side of the invitation to trim the invitations to the appropriate size (two 5″x7″ cards on each 8.5″ x 11″ page). It is easiest to cut the top first, rotate and cut the right side, rotate again and cut the bottom, and rotate once again to cut the left side.
*Note there aren’t any crop marks on the back patterned side of the invitation design, so that you have the option to print it as envelope liners (envelope liner template not included) or for other decor items for your party.
IF YOU ARE PRINTING THE INVITATIONS AT A PRINTER
Customers have had success with Staples and OfficeMax. If you want something a bit higher in quality, and a thicker card stock (especially if your invitation has a photo), I would suggest using mpix.
Provide the printer with both the back and front files for the invitation and make sure they know that the invitations are to each be 5″x7″ – just so they don’t scale or resize while printing, and so the invitations are trimmed to the correct size. Note some printers require different file types – jpegs or two PDF’s combined into one. Please let me know what you require and I’ll send the correct file types!
Please see the gallery below for my envelope colour suggestions. Envelopes can be purchased at Paper Source in the A7 size.
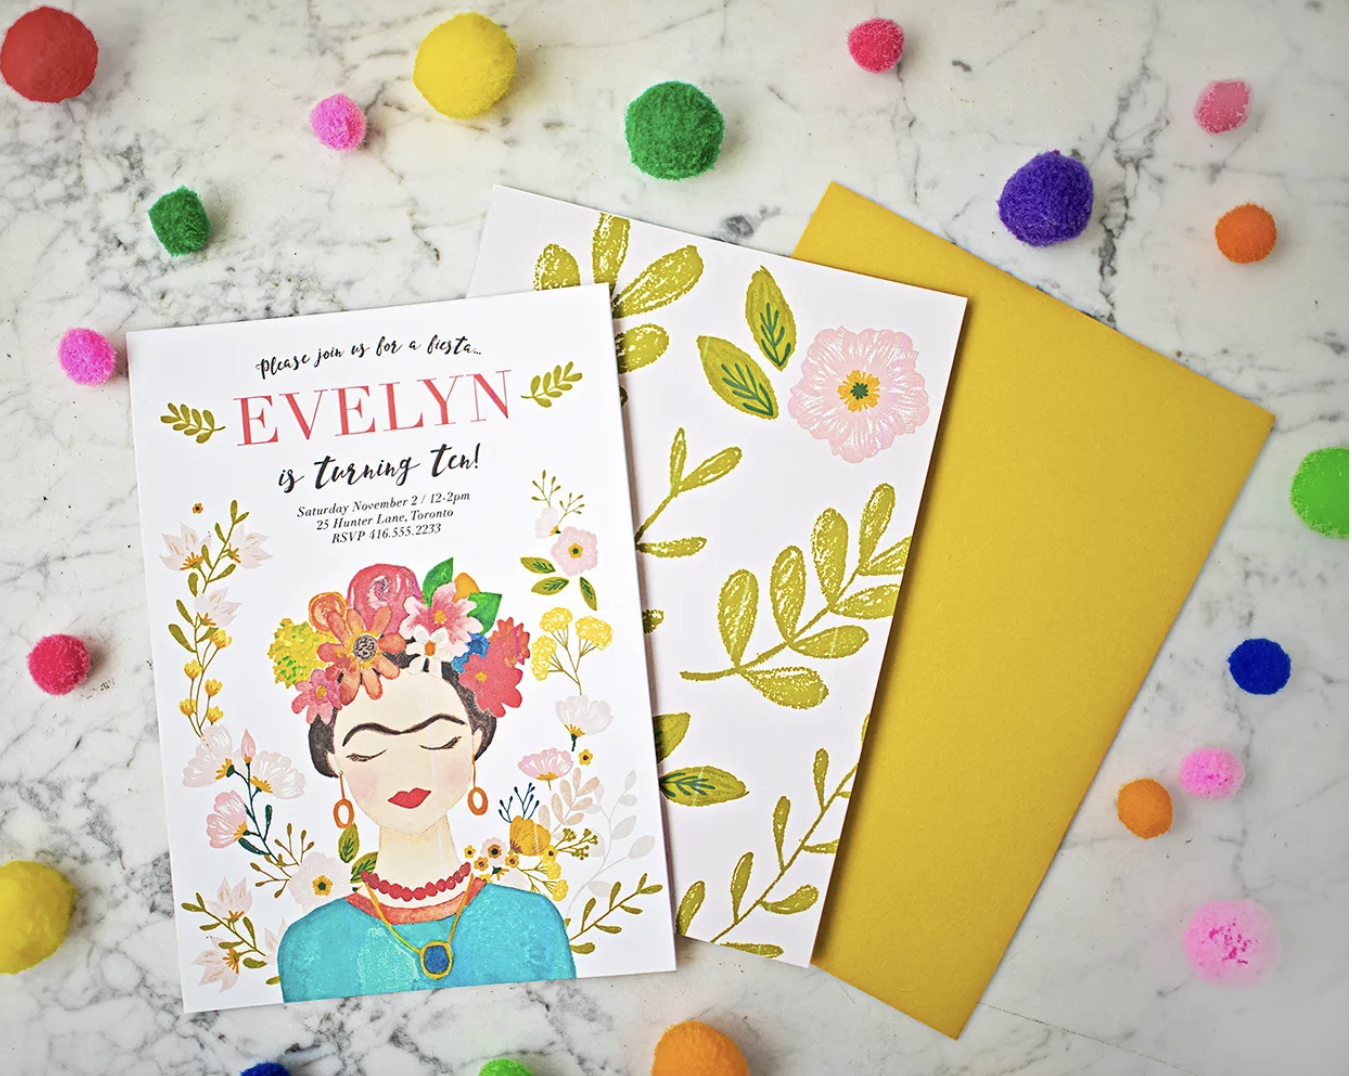
Paper Source envelope colours: Curry, Blossom, Fuchsia, Pool or Peacock
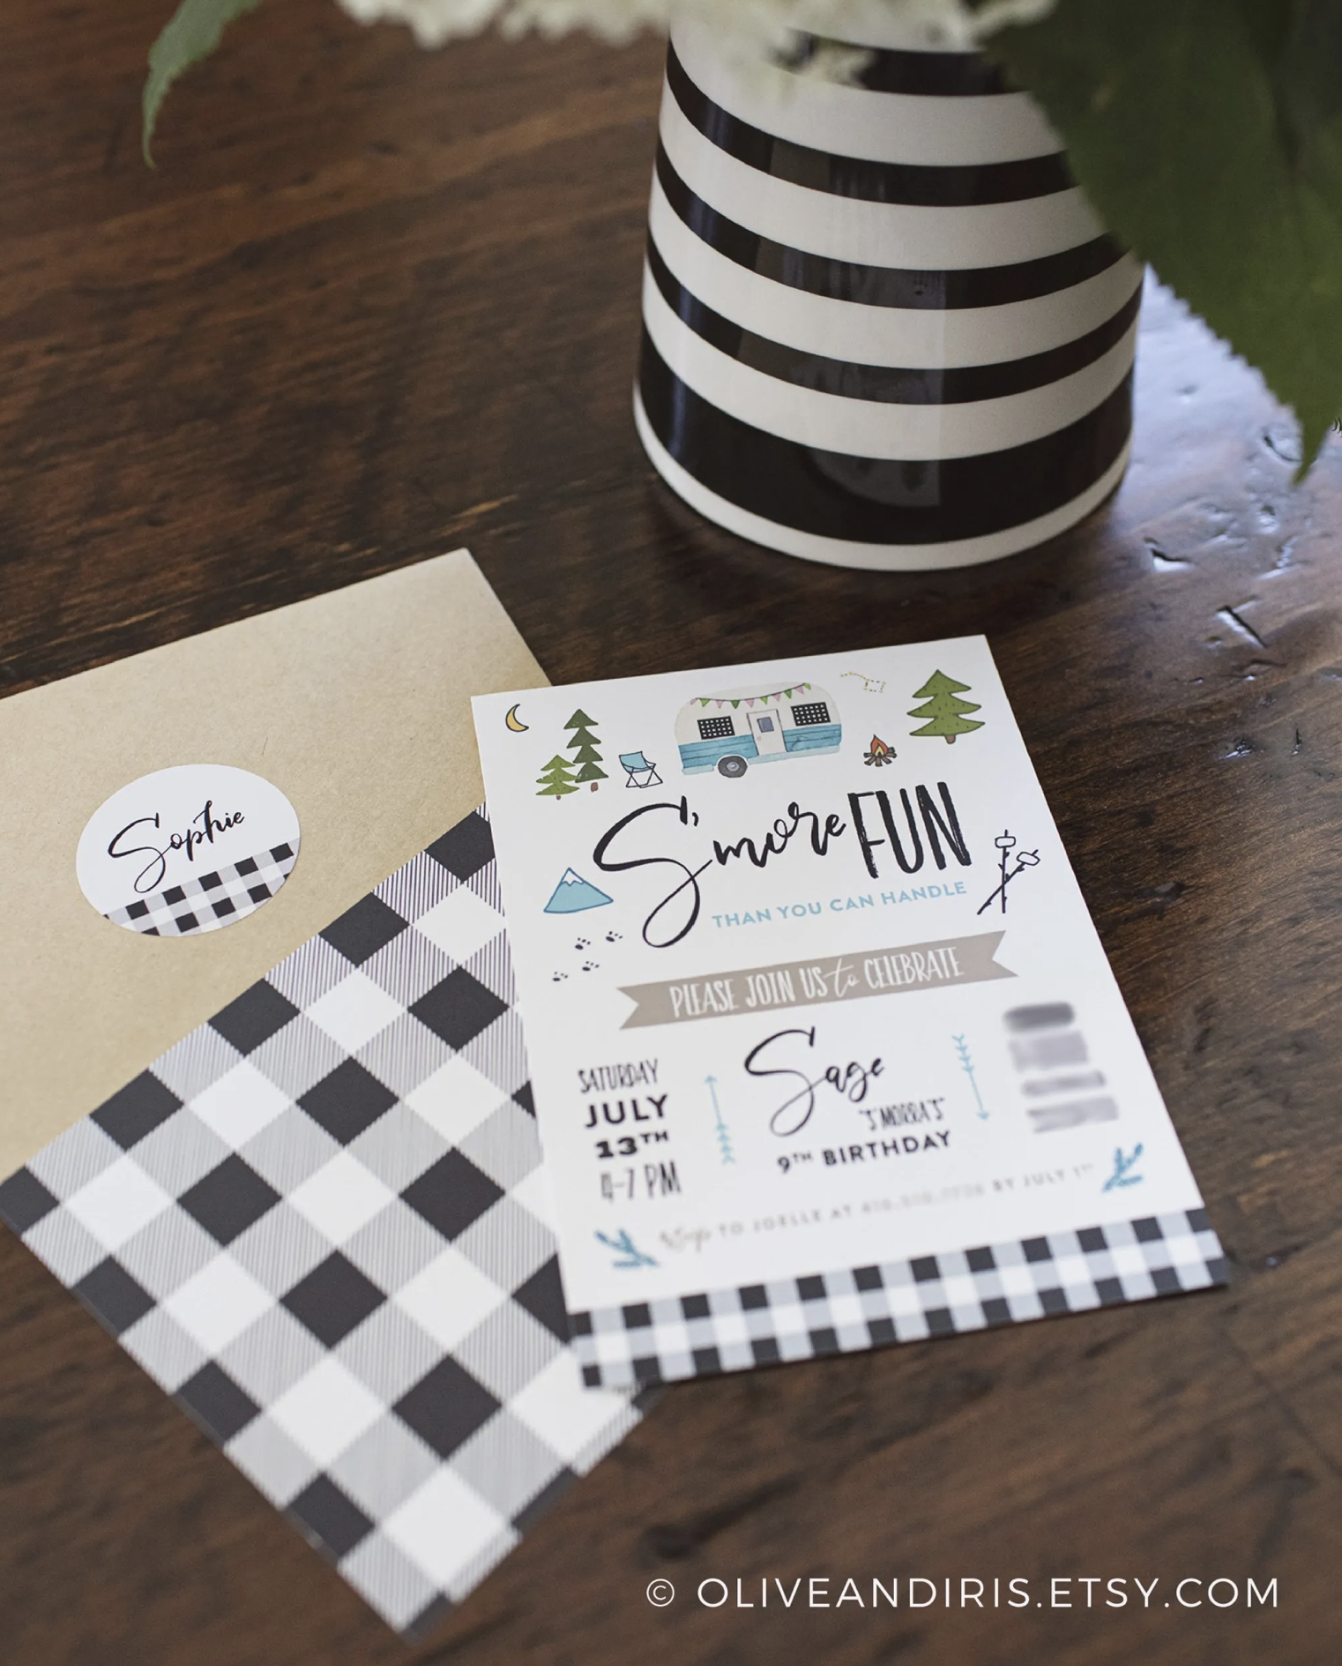
Paper Source envelope colours: Paper Bag, Pool or Black

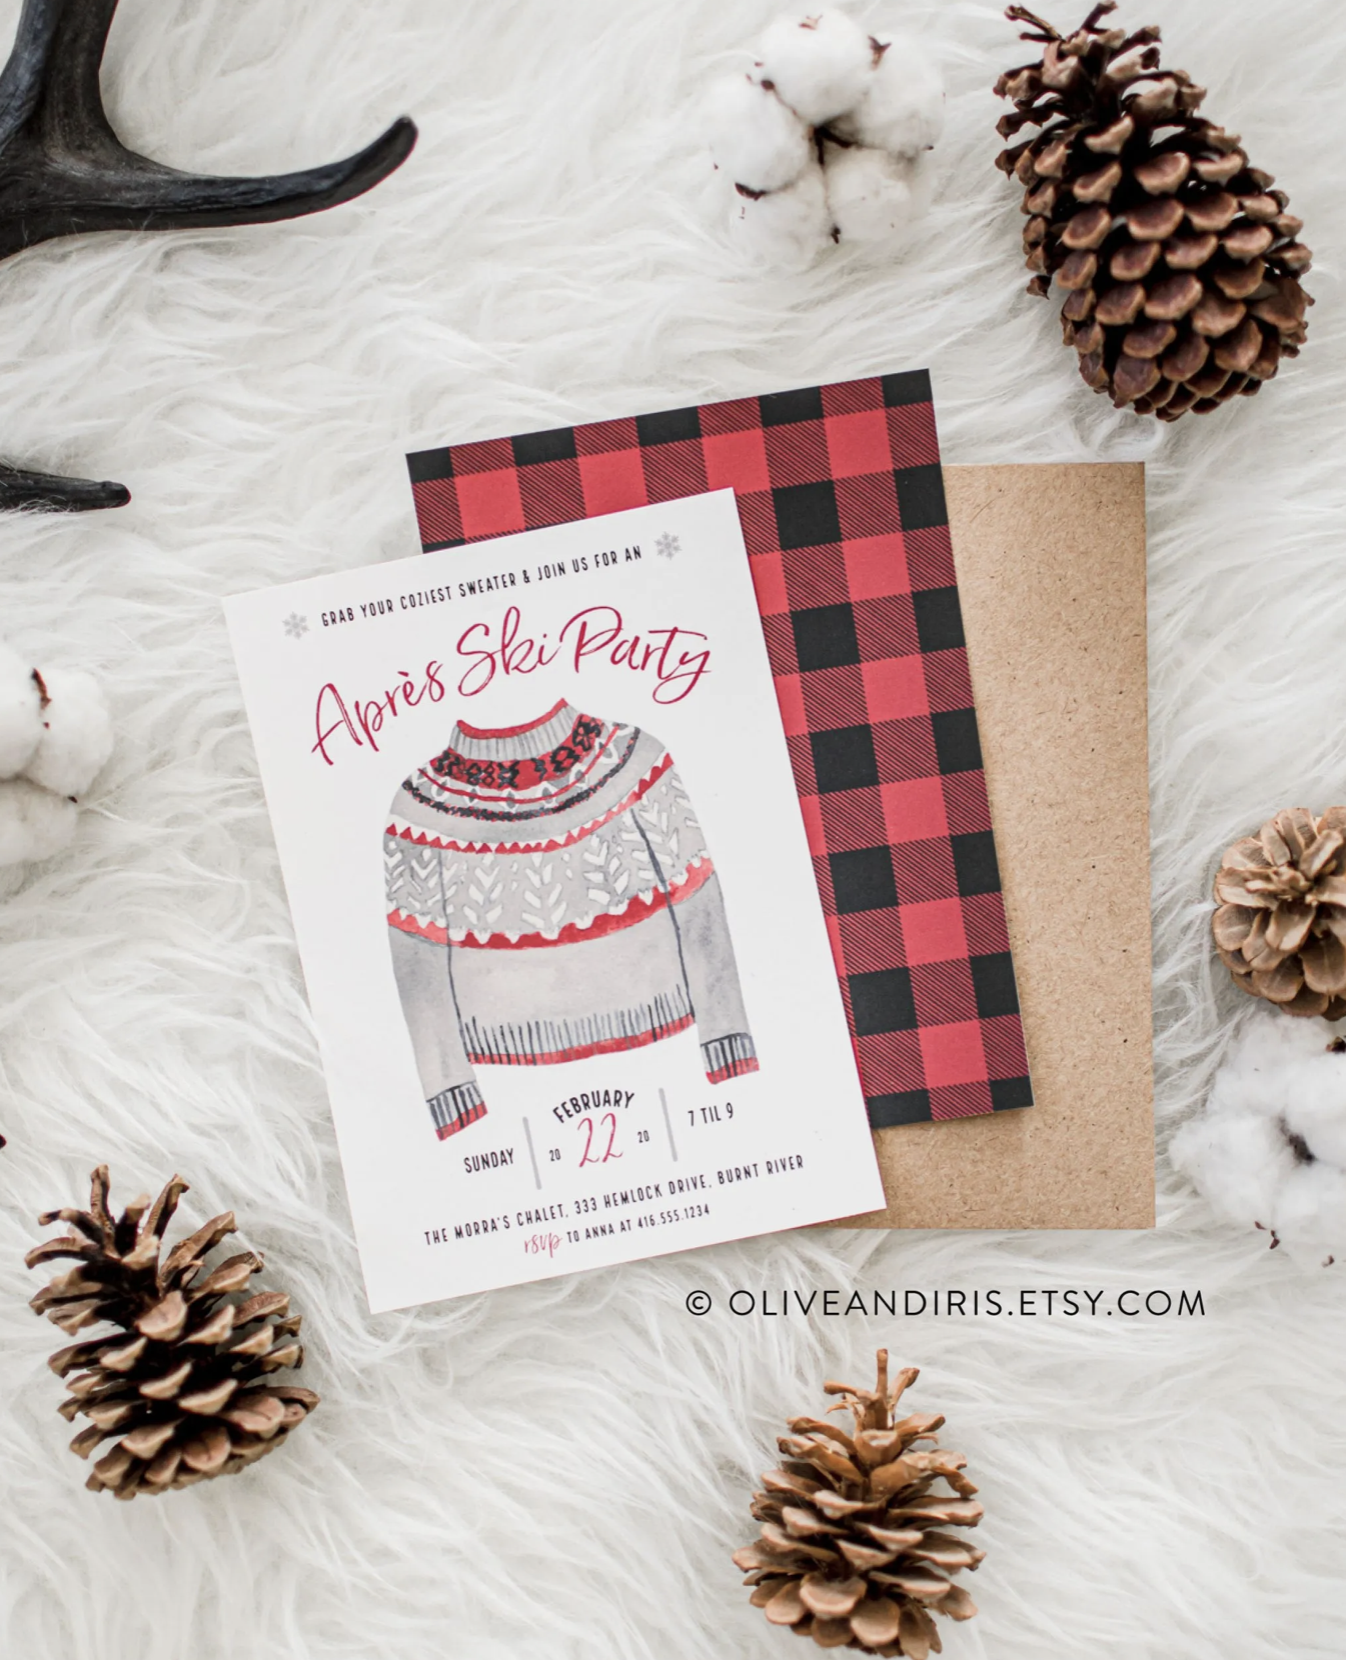
Paper Source envelope colours: Pool or Red

Paper Source envelope colours: Gravel, Curry or Pool

Paper Source envelope colours: Paper Bag, Curry or Rose
Paper Source envelope colours: Red, Paper Bag or Black

Paper Source envelope colours: Pool or Black. Peacock may work as well.
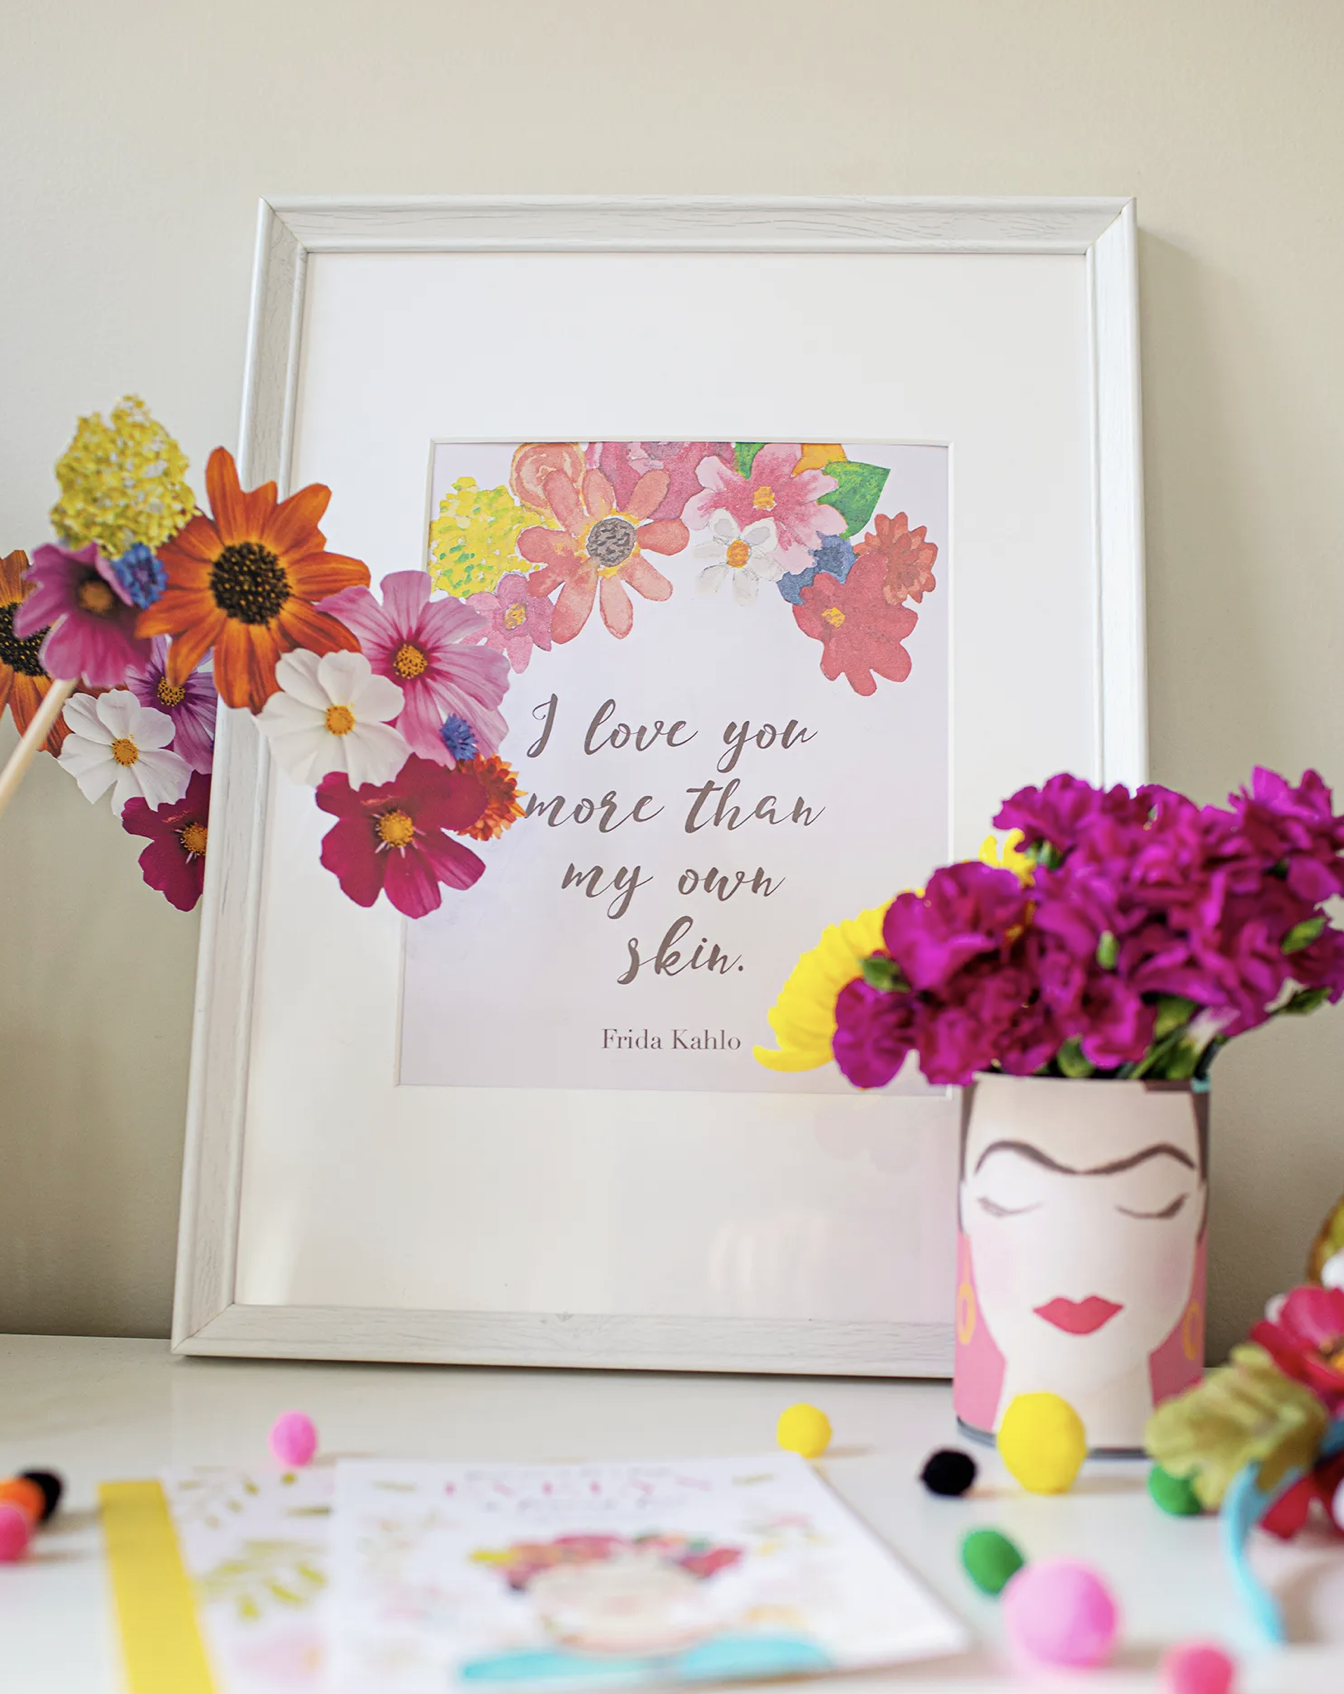
8×10 Art Print Printing Instructions
a. Open the PDF file of the art print in Adobe Reader or Acrobat and go to File/Print in the navigation bar.
b. Make sure the option to Scale or Resize the page is unchecked, or that the option for Page Scaling is set at “None”.
c. Make sure your printer is set to its best print setting if possible, and that the size of the paper selected is US letter-sized or 8.5″ x 11″.
d. Place your white 8.5″ x 11″ (letter-sized) card stock in the printer and click “Print”.
e. Trim along the trim marks with a paper cutter. The final size of the print or sign will be 8″ x 10″.
f. Set the print in an 8″ x 10″ frame. You are done!
***PLEASE do not distribute or resell this print.
Water Bottle/Can Wrap Printing Instructions
For the wraps, I would recommend printing the PDFs on normal letter-sized (8.5″ x 11″) paper, so it will easily wrap around the tin can or water bottle.
a. Open the PDF files in Adobe Reader and go to File/Print in the navigation bar.
b. Make sure the option to Scale or Resize the page is unchecked, or that the option for Page Scaling is set at “None”.
c. Make sure your printer is set to its best print setting if possible, and that the size of the paper selected is US letter-sized or 8.5″ x 11″.
d. Load the letter sized paper into the printer and click “Print”. Print the designs onto 8.5″ x 11″ (letter-sized) white card stock. Note there are two pages in the Frida Kahlo can wrap file!
e. Trim along the trim lines.
f. Attach the labels to your water bottles using double-sided tape.

Tag Printing Instructions
a. Open the PDF file of the photo props in Adobe Reader or Acrobat and go to File/Print in the navigation bar.
b. Make sure the option to Scale or Resize the page is unchecked, or that the option for Page Scaling is set at “None”.
c. Make sure your printer is set to its best print setting if possible, and that the size of the paper selected is US letter-sized or 8.5″ x 11″.
d. Place your white 8.5″ x 11″ (letter-sized) card stock in the printer and click “Print”. After you test one out, you may print more so each guest can have a prop.
e. Cut along the trim lines. I’ve left a “bleed” (where the design overlaps the trim line a bit) so that the Frida image will “bleed” off the tag.
f. Have fun, take lots of photos and be sure to tag #lovelyjunedesignco on Instagram!

Photo Prop Printing Instructions
a. Open the PDF file of the photo props in Adobe Reader or Acrobat and go to File/Print in the navigation bar.
b. Make sure the option to Scale or Resize the page is unchecked, or that the option for Page Scaling is set at “None”.
c. Make sure your printer is set to its best print setting if possible, and that the size of the paper selected is US letter-sized or 8.5″ x 11″.
d. Place your white 8.5″ x 11″ (letter-sized) card stock in the printer and click “Print”. After you test one out, you may print more so each guest can have a prop.
e. Trim along the perimeter of the photo props (e.g. flower crown and eyebrows for the Frida party). Glue or tape props on one side to wooden dowels.
f. Have fun, take lots of photos and be sure to tag #lovelyjunedesignco on Instagram!